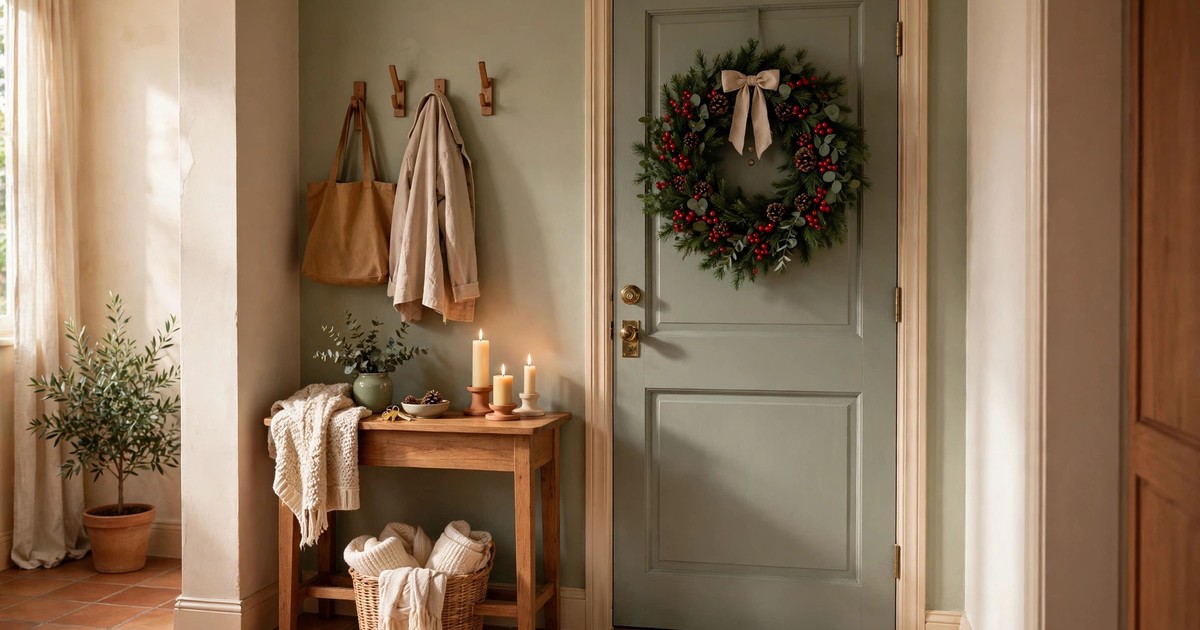
Putting holiday decor up in a rental is the fun part. Taking it down is the part that decides whether you get your deposit back. Adhesive hooks pulled wrong, a nail hole you forgot, glitter ground into carpet — each one is a small deduction on its own and an awkward conversation with a landlord when they add up. The good news is that almost all of it is avoidable with the right removal order and about an hour of patience.
The golden rule of takedown: reverse the order you put things up, work top to bottom, and never yank anything. Every adhesive, hook and fastener has a removal method it was designed for, and using it takes seconds longer than yanking — and saves you the repair.
Step 1: Photograph everything before you touch it

Before a single ornament comes down, walk the flat with your phone and photograph every decorated wall, window and surface. These photos are your insurance twice over: first, they remind you where every hook, nail and adhesive strip is hiding once the decor is gone (the one behind the bookshelf is always the one you forget); second, they prove the condition of the walls if a landlord later claims damage that was already there.
Pay special attention to the spots landlords check: the wall where the wreath hung, the window frames where lights were clipped, and any surface that held adhesive. Photograph in daylight with the flash off so marks show honestly. Save the photos in a folder labelled with the year — you will want them again next January, and the January after that. Shop small step stools for reaching high decor
Step 2: Take ornaments down top to bottom

Start at the top of the tree and work down, and start with the highest wall decor and work down there too. The reason is practical: ornaments and hooks knocked loose from above land on things below, so clearing the top first means nothing falls onto a surface you have already cleaned. It also means you are not reaching over clean, empty branches to get to a forgotten angel at the top.
As you go, sort into three piles right away: keep, repair and donate. Keep goes straight into storage. Repair — the ornament with a loose cap, the string of lights with one dead bulb — goes into a small bag to be fixed before it is stored, because a broken item stored is a broken item rediscovered next year. Donate goes into a bag by the door, not back into a cupboard. Takedown is the best decluttering moment of the year; use it. Shop ornament storage boxes with dividers
Step 3: Remove adhesive hooks the way they were designed
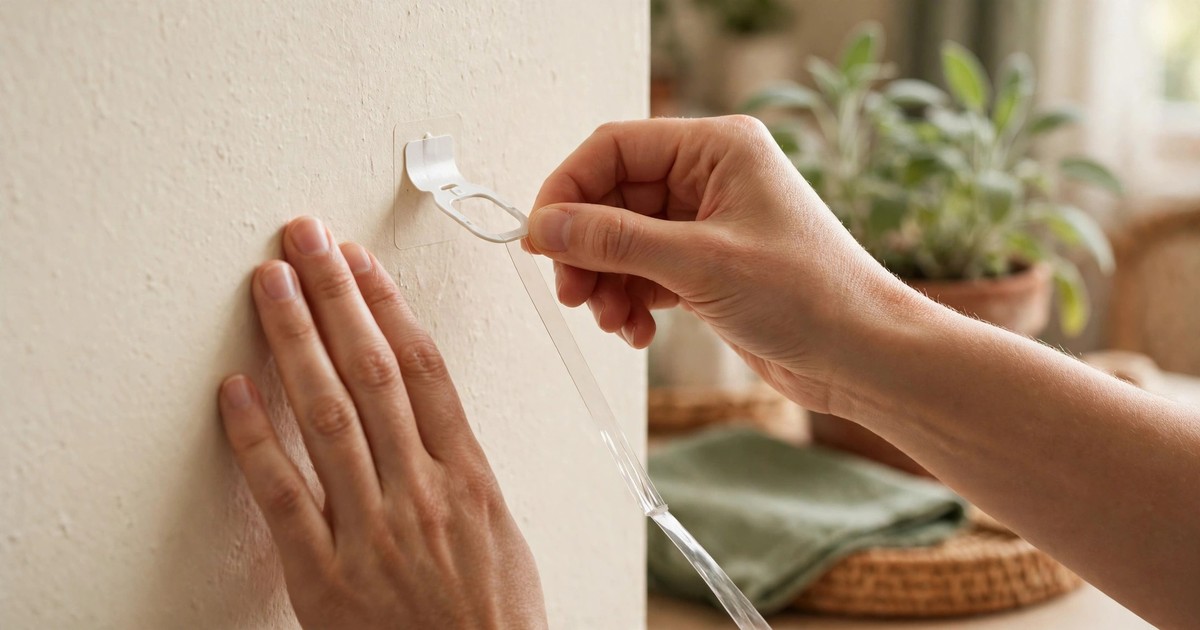
This is the step that costs renters the most money, and it is entirely about technique. For Command-style strips, never pull outward — pull the tab slowly straight down along the wall, keeping it flat against the surface, until the whole strip releases. It feels wrong and slow, and it works. Pulling outward rips paint, and ripped paint is the classic deposit deduction.
If a strip snaps or a tab breaks off, do not scrape at it. Warm the remaining adhesive with a hairdryer on low for thirty seconds, then roll it off with your thumb or a plastic scraper. For other adhesive products, check the packaging — most have a specific removal method, and guessing wrong is how walls get damaged. If any paint does come off, note it immediately and photograph it; a small chip is a five-minute touch-up, not a disaster, if you deal with it now. Shop adhesive remover for walls
Step 4: Remove window clings, garlands and lights gently
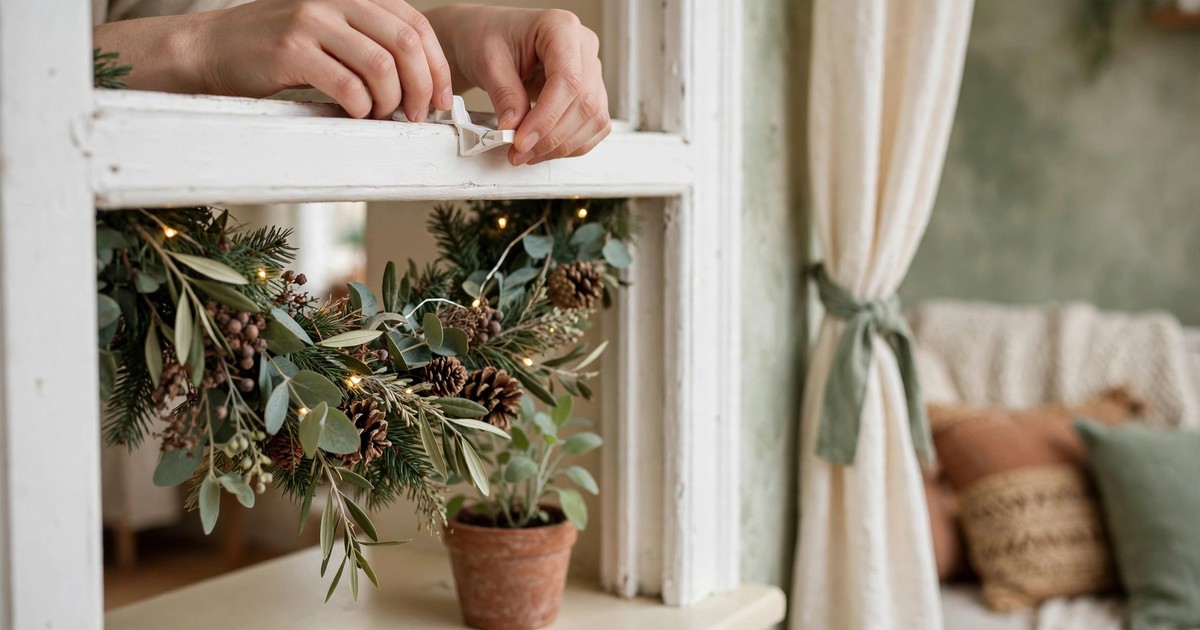
Window clings peel off cleanly if you lift a corner and pull slowly at a low angle; if one has baked onto the glass in winter sun, a little warm soapy water on a cloth loosens it without a scraper. Never use a razor blade on a window — it scratches glass and coatings, and scratched glass is far more expensive than a cling ever was.
Garlands and lights come down by reversing how they went up: unclip from the end you finished at, not the end you started at, so you are not fighting the tension of the whole run. Unplug lights before handling them, untangle as you go rather than stuffing a knotted mass into a box (next year's you will be grateful), and check window frames and sills for clip marks as you pass — small dents from light clips can often be eased out with a damp cloth and gentle pressure while the wood is still cool. Shop light clips and cord storage reels
Step 5: Deal with tree needles, glitter and candle wax
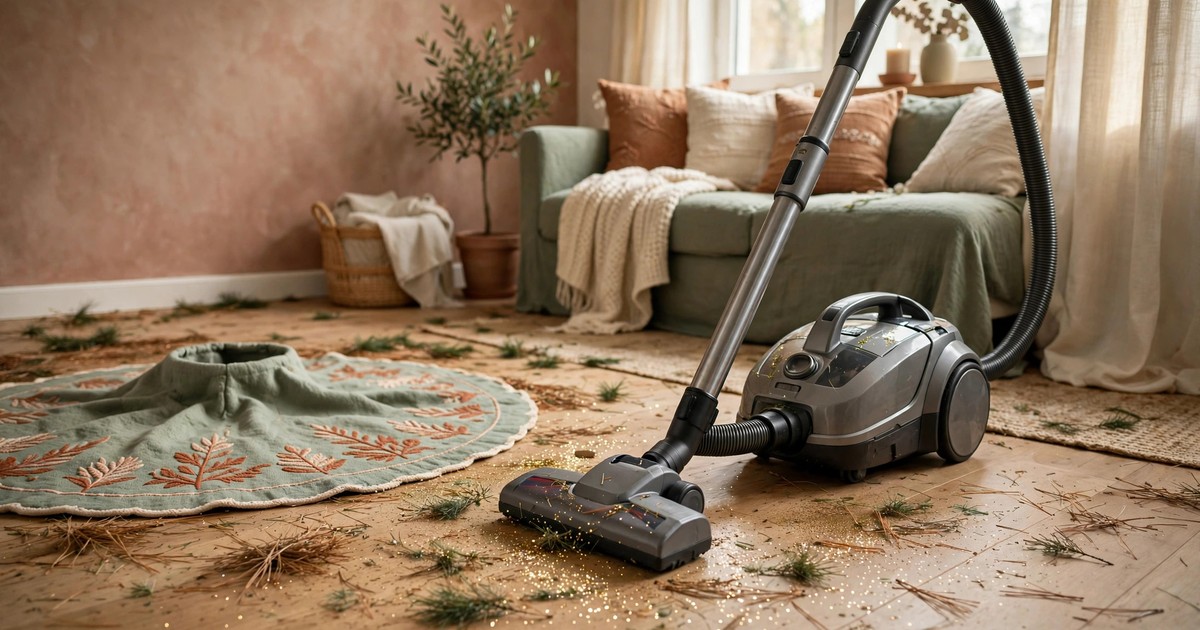
The mess left behind is what landlords actually notice: needles in carpet, glitter on every surface, wax on a windowsill. Work in this order — dry debris first, then damp cleaning. Vacuum slowly over carpet where the tree stood, going over the area twice in different directions; needles hide deep in pile. For hard floors, a damp mop after sweeping catches what the broom missed.
Glitter needs a specific trick: a loop of packing tape wrapped sticky-side-out around your hand lifts it from upholstery and fabric far better than a vacuum. Candle wax on a hard surface lifts with a hairdryer and a paper towel — warm it, blot it, never scrape it. Wax on carpet is the one case for an iron: paper towel over the wax, iron on low, and the wax transfers into the towel. Deal with all of this before you return furniture to its normal positions, or you will be moving sofas twice. Shop pet-hair and glitter lint rollers
Step 6: Fill nail holes and touch up paint
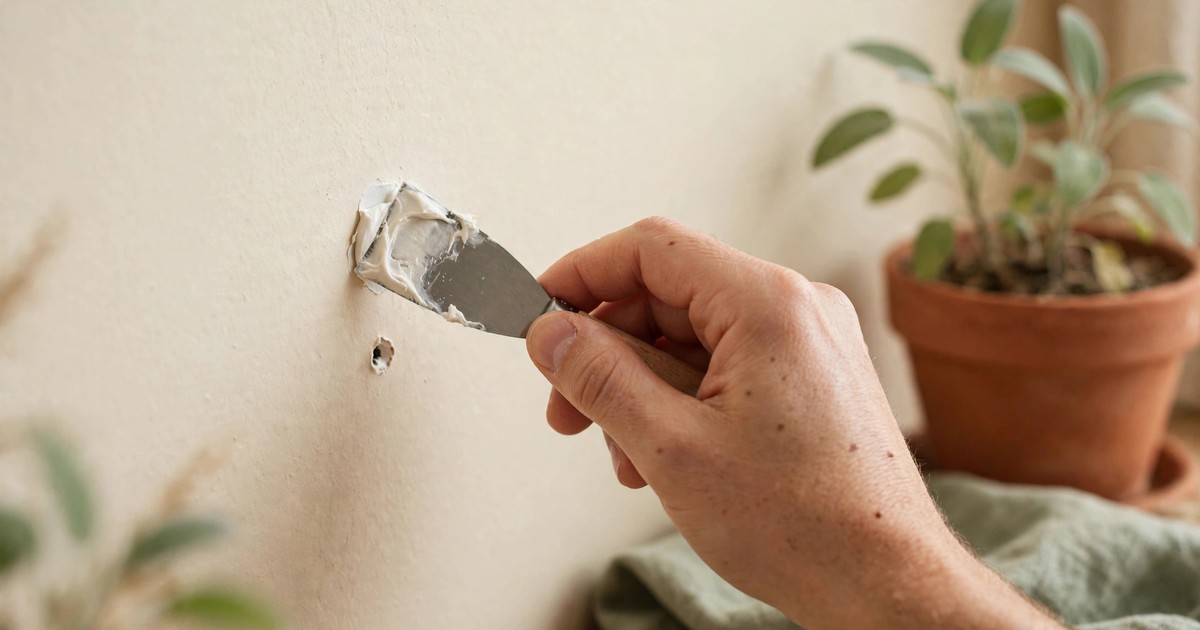
Even careful renters end up with a nail hole or two — a wreath nail, a stocking hook, a picture moved for the season. Small holes (under 5 mm) can be filled with white toothpaste in a pinch, but proper lightweight wall filler is better: press it in with a fingertip or a putty knife, smooth it flush, let it dry, and sand lightly with fine sandpaper. For white walls this is often invisible without any paint at all.
If paint did come off with an adhesive strip, touch it up with a small brush and the closest white you can find — most rental walls are a standard brilliant white, and a tiny touched-up patch reads as fresh paint rather than damage. The trick is to feather the edges: a hard-edged blob of paint looks worse than the chip did. If you are unsure of the colour, ask your landlord for the paint code before you start; most will happily give it, and asking signals that you care about the flat. Shop lightweight wall filler and putty knives
Step 7: Clean the surfaces decor was hiding
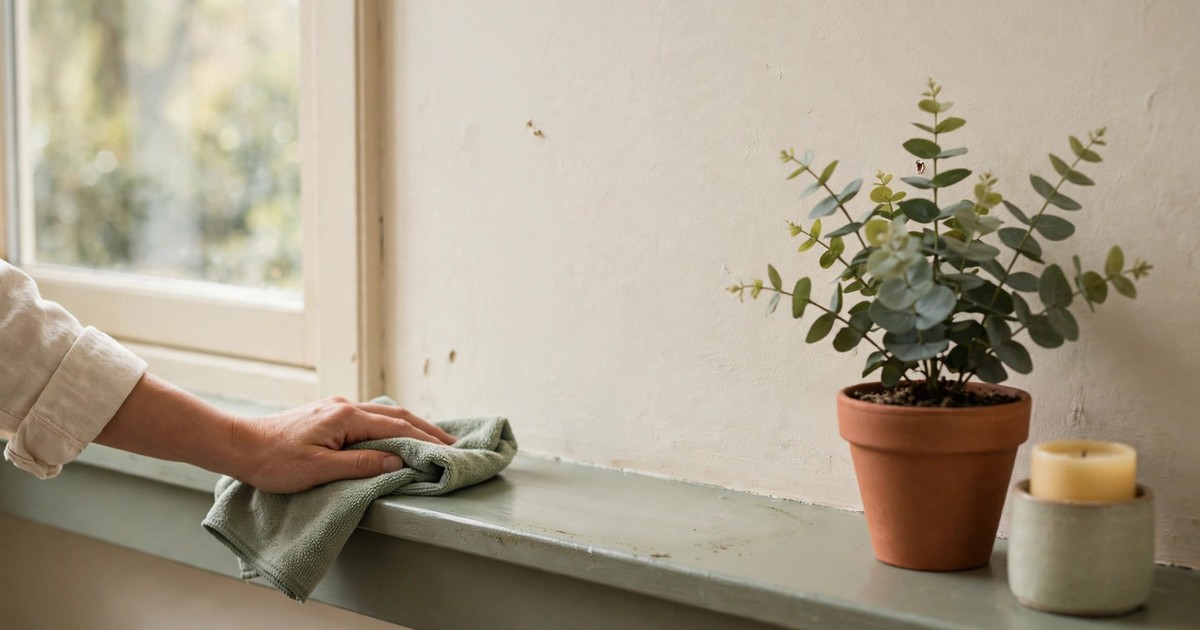
Behind every wreath, garland and string of lights is a patch of wall or windowsill that has not been cleaned since November — and the dust outline is visible the moment the decor comes down. Wipe every surface that held decor with a damp microfibre cloth before you call the job done, including the tops of door frames where garlands sat and the sills where candles burned.
Check for two things landlords always spot: soot marks above candles (a damp cloth with a little baking soda paste lifts most of it) and faded patches where a wreath blocked sunlight. Faded patches even out over a few weeks and are rarely worth mentioning; soot marks are worth removing properly. This is also the moment to check for anything decor hid: a scuff from moving furniture for the tree, a mark from a leaning ladder. Fixing them now, while you are in repair mode, is far easier than discovering them at move-out inspection. Shop microfibre cleaning cloths bulk
Step 8: Do a final walkthrough with your move-in photos
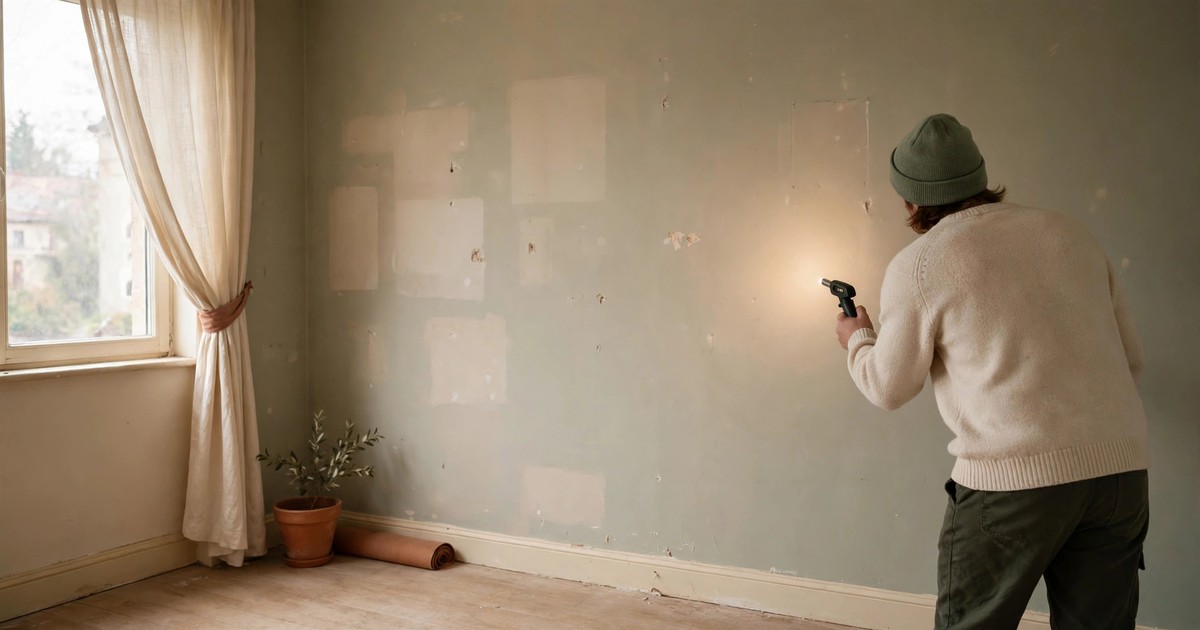
Finish with a proper walkthrough: every room, every wall, comparing against the photos you took at the start and, ideally, your move-in inventory. Open every cupboard that held decor, check behind every door, and look at the walls in raking light (a torch held at an angle shows marks that overhead light hides). This takes ten minutes and is the difference between a clean handover and a surprise deduction months later.
If you find damage you cannot fix — a larger paint peel, a cracked tile, a dented sill — tell your landlord now, with photos and an honest note. Landlords are almost always more forgiving about damage reported promptly than damage discovered at inspection, and some will even arrange the repair themselves at cost. A clean, honest takedown is also the best argument for your full deposit at the end of the tenancy: it shows a tenant who looks after the place. Shop LED torches for inspection walkthroughs
Shop this look: damage-free holiday takedown
- Ornament storage boxes with dividers — pack it right, find it next year. Shop ornament boxes
- Wall-safe adhesive remover — for the strip that snapped. Shop adhesive remover
- Wall hole filler kit — five minutes per nail hole. Shop filler kits
- Light storage reels — no more knotted lights next year. Shop storage reels
You may also like

How to Pet-Proof Christmas Decor in a Rental Without Losing Your Deposit
October 29, 2026
10 Ways to Store Christmas Decor in a Rental With Almost No Storage Space
October 28, 2026