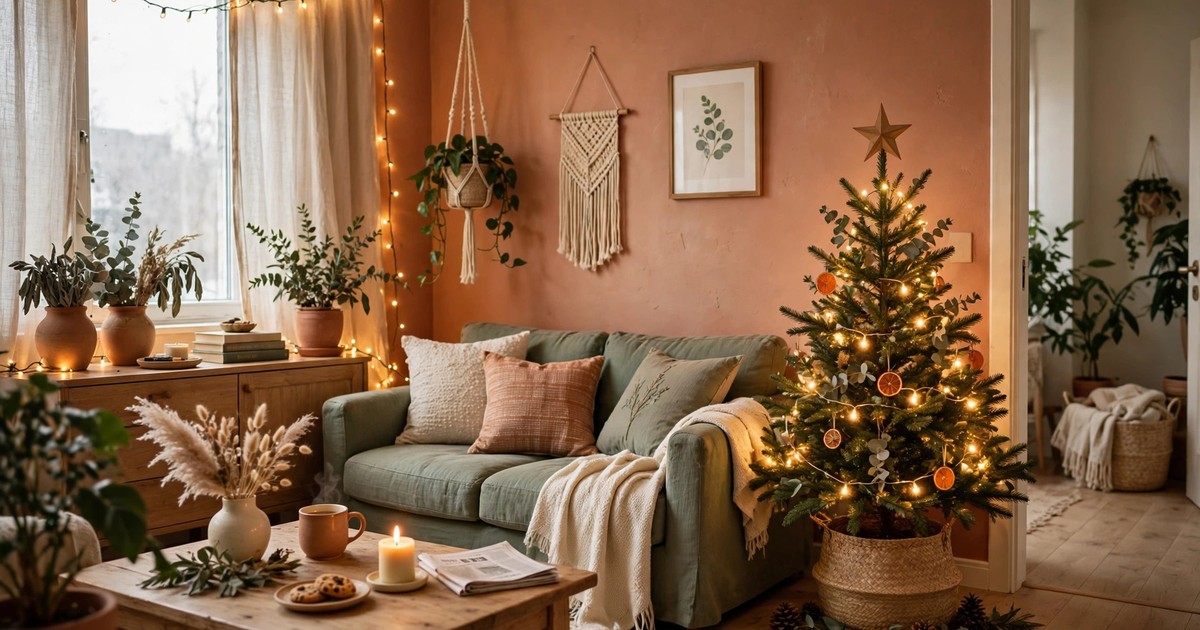
Christmas lights are the single most transformative decoration a renter can buy — one string turns a plain flat into a festive one — and also the one most likely to cost you your deposit, if you hang them with nails, staples or screws. The good news is that every surface in a rental has a no-damage hanging method, and most of them look better than nails anyway, because they place lights exactly where you want them rather than wherever a stud happened to be.
This guide covers the whole job, from choosing lights to taking them down in January, with a method for every surface: windows, walls, ceilings, balconies and banisters. If you are decorating the rest of the flat, our renter-friendly Christmas decor ideas and our no-drill wall decor guide cover the rest of the room.
Step 1: Check your lease and choose renter-friendly lights
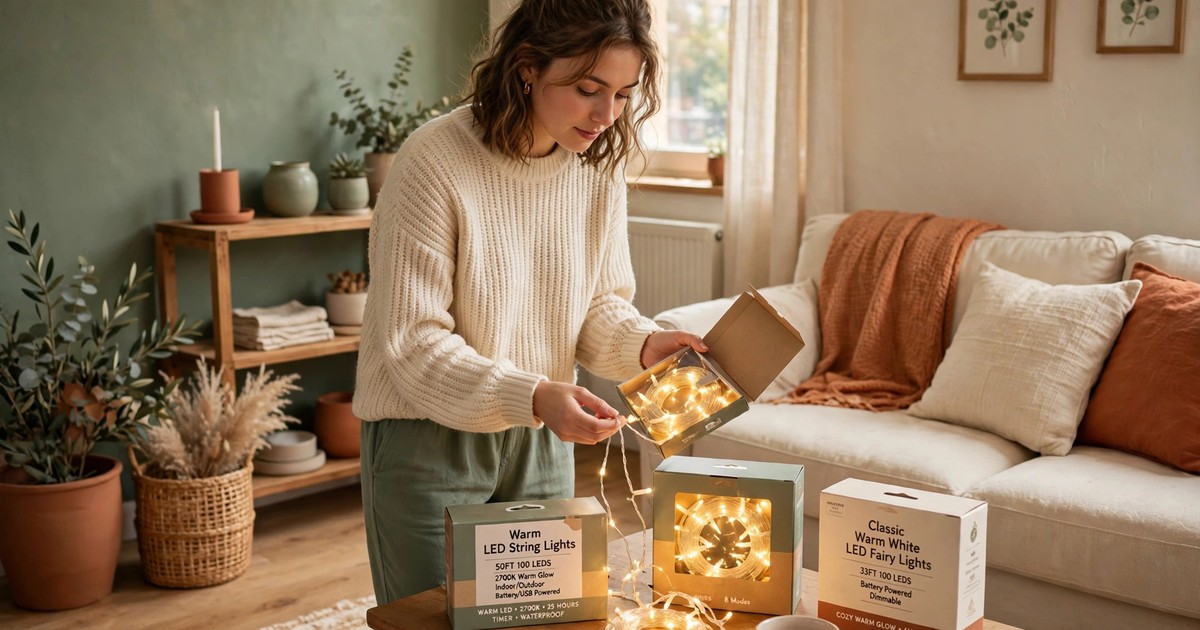
Before you buy anything, check two things: your lease, and your lights. Most leases ban nails and screws in walls but say nothing about adhesive clips or freestanding lights — and knowing that distinction saves an argument later. If your lease is silent, adhesive methods are still the safe choice, because they leave nothing to argue about at move-out.
Choose LED lights, not old incandescent strings. LEDs run cool, which matters when lights sit against curtains, plants or adhesive clips; they use far less electricity, so a long run will not trip a breaker; and they come in battery and plug-in versions, which decides where you can hang them. Battery lights go anywhere — windows, banisters, balconies without an outdoor socket — while plug-in lights suit long indoor runs near a socket.
Step 2: Measure your route before you buy
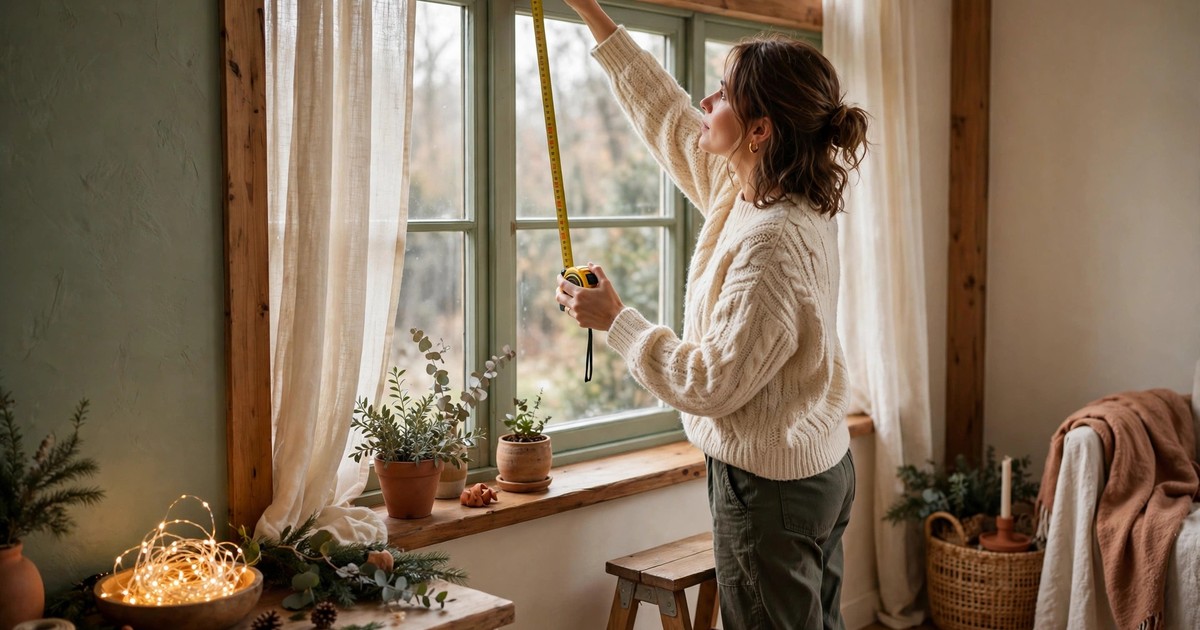
The most common Christmas lights mistake is buying a string that is too short, then joining two strings with a sagging connector in the middle of the display. Measure every surface you plan to light — window frames, the length of a wall, the balcony rail — and add 20% for swags and drapes, because a light string that hangs in gentle curves uses more length than one pulled taut.
A taut string looks worse anyway. Lights look best with a slight drape, which catches the light and reads as festive rather than clinical. Write your measurements down, buy one string per run where possible, and keep the receipt — an unopened spare string is easy to return, a too-short display is not easy to fix on Christmas Eve.
Step 3: Pick the no-damage method for each surface
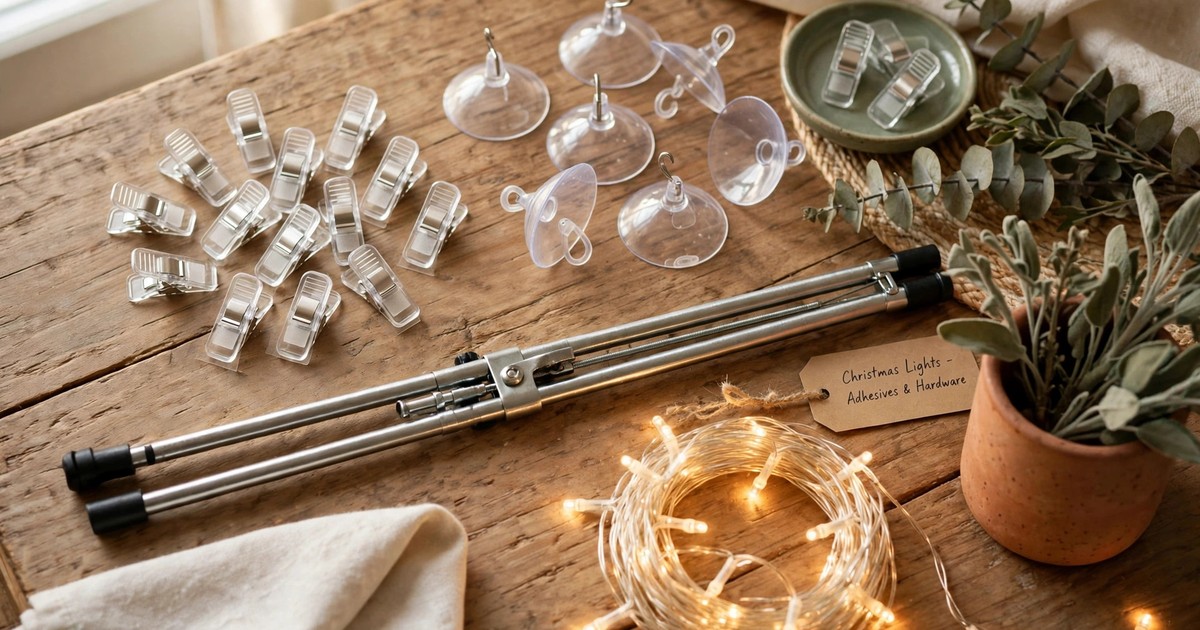
Every surface has a method, and choosing the right one is the whole job. Smooth walls and painted wood take adhesive light clips, which stick on and peel off cleanly. Glass takes suction-cup clips, which grip the window and release without a mark. Ceilings and curtain rods take clip-on hooks that grip without piercing. Balcony rails take zip ties or rail clips that wrap around the rail.
The method to avoid is anything that pierces: nails, staples, drawing pins and screws all leave holes, and a staple gun in particular leaves a hole that is hard to fill invisibly. Tape is the other trap — it seems harmless, but cheap tape leaves residue on paint and can pull paint off when removed. Adhesive clips designed for lights are cheaper than a deposit deduction, and they are made to remove cleanly.
Step 4: Hang lights along windows
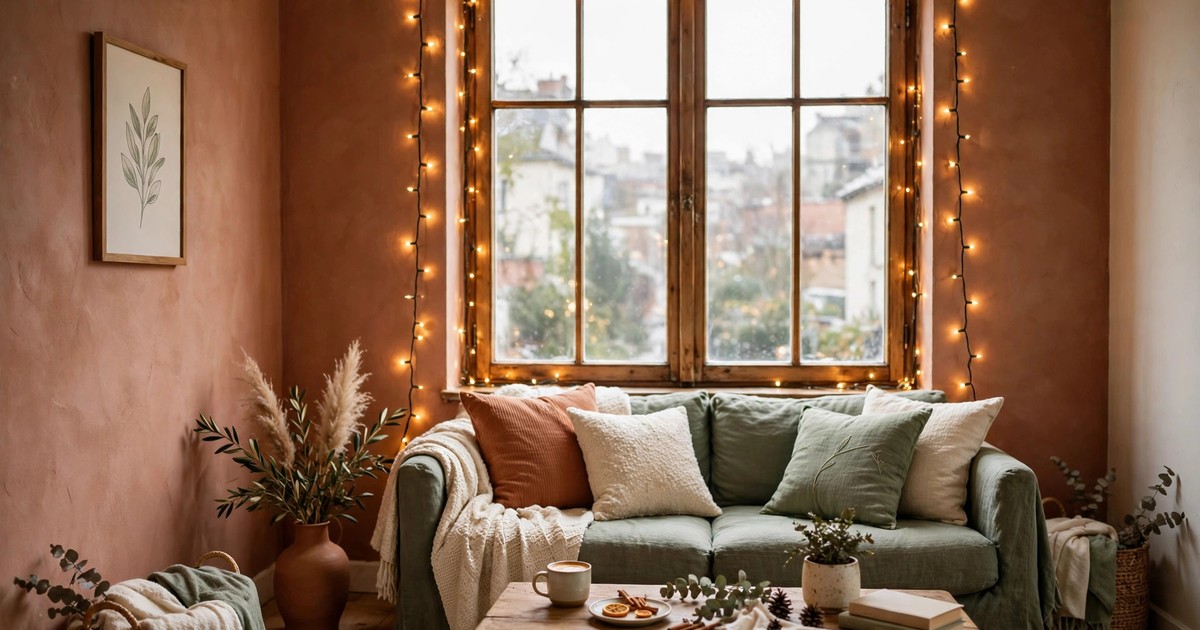
Windows are the best place for rental Christmas lights, because they are visible from inside and outside, and they have two perfect no-damage methods. Suction-cup clips grip the glass and hold a string around the frame; adhesive clips stick to the frame itself and hold a string in a neat line. Either way, start at the top corner nearest the power source and work outward, so the plug or battery pack ends up hidden behind a curtain.
If you have no outdoor socket, battery lights on a window are the answer — they glow from inside the glass and are visible from the street, with no cable to run outside. Set battery lights on a timer if they have one, so they switch on at dusk and off before bed without you remembering, and keep the battery pack behind the curtain where it is out of sight.
Step 5: Hang lights along walls and ceilings without holes
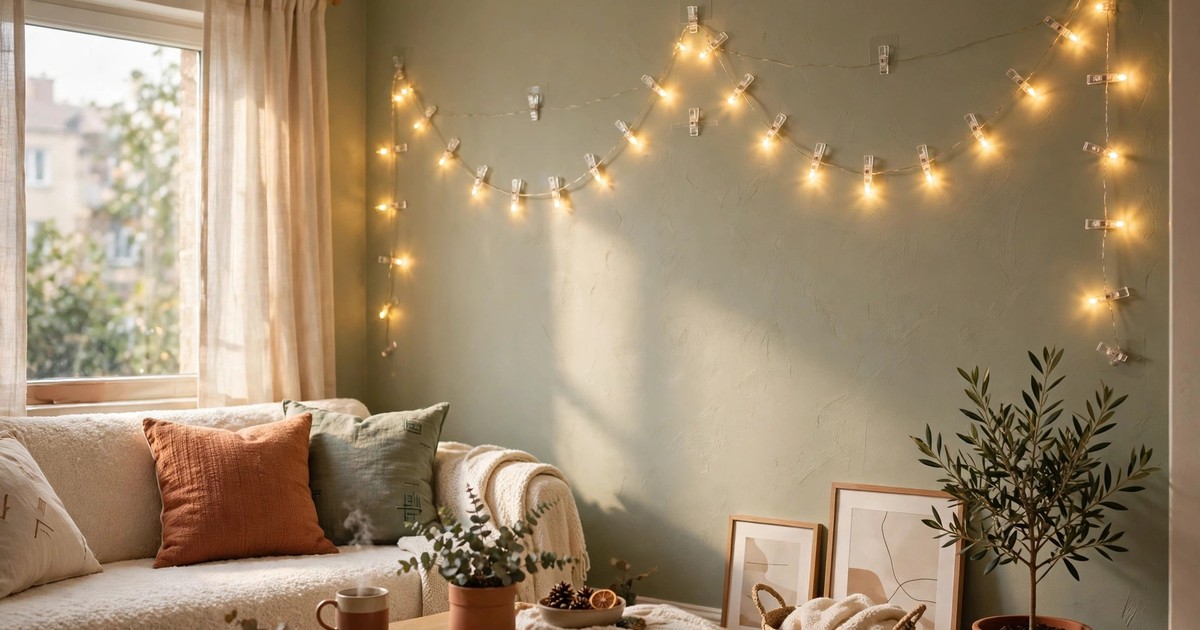
For a wall display — a curtain of lights behind the sofa, a zigzag across a feature wall, a canopy across the ceiling — adhesive clips are the method. Place clips every 30–40 cm, press each one firmly for 30 seconds, and wait an hour before hanging the lights, so the adhesive reaches full strength. Hanging lights on fresh adhesive is the most common reason clips fall down.
For ceilings, clip-on hooks that grip a curtain rod, a picture rail or a ceiling track work without any adhesive at all. If your flat has coving or a picture rail, that is a gift: lights clipped to it hang in a perfect line and come down without a trace. Drape, do not pull taut — a gentle swag between clips looks intentional, while a tight line looks like a wire someone forgot to hide.
Step 6: Light a balcony or banister without drilling
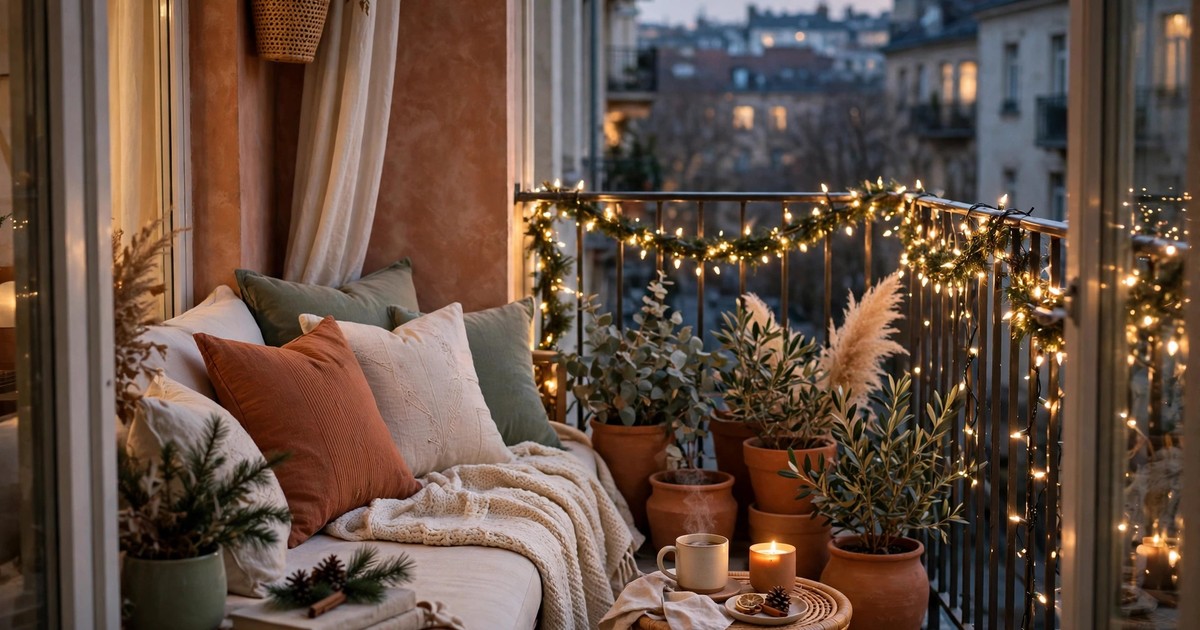
Balconies and banisters are made for lights, because they already have a structure to wrap around. Wrap the string around the rail itself, securing it every metre with a zip tie or a rail clip, and the lights stay put through wind and weather without a single hole. For a balcony, choose outdoor-rated lights even if the balcony is covered — winter damp finds its way everywhere.
The power question matters most on a balcony. If you have no outdoor socket, battery lights or solar lights are the answer, and both have improved enormously: modern battery strings run for weeks on a timer, and solar strings charge even on grey winter days. Never run an indoor extension lead outside through a window or door — it is a trip hazard, a damp risk, and a fire risk, and it is the one thing on this list that is genuinely dangerous rather than merely deposit-threatening.
Step 7: Take them down cleanly and store them right
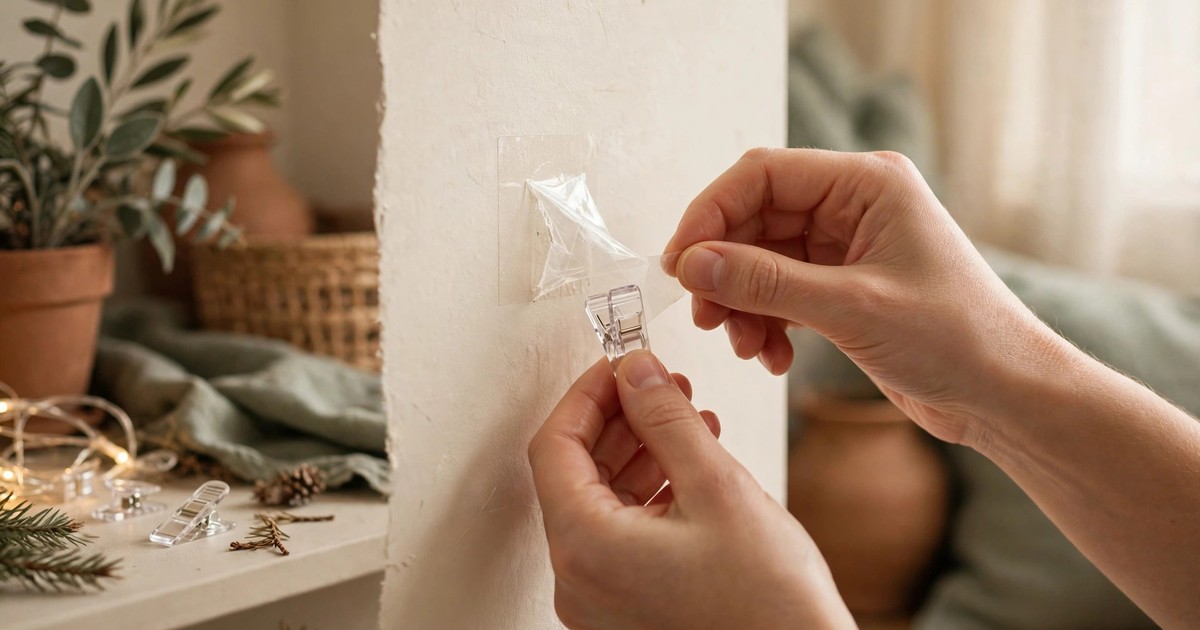
Takedown is where deposits are lost, so take it slowly. For adhesive clips, pull the tab slowly downward, parallel to the wall — never yank the clip outward, which is what pulls paint off. For suction cups, lift one edge to break the seal rather than pulling straight off. For zip ties, cut them, do not yank them, so the rail is not scratched.
Then store the lights properly, because you will buy them again next year if you do not. Wrap each string around a piece of cardboard or a purpose-made reel, rather than stuffing it in a bag where it tangles into a knot that takes an hour to undo. Keep the clips with the lights in the same box, labelled by room, and next December the whole job takes half the time — which is the real gift of doing it properly this year.
Shop this look: hanging lights without damage
- Adhesive light clips — the clip the whole guide depends on. Shop adhesive light clips
- Warm white LED string lights — the classic glow, low heat, low bills. Shop warm white string lights
- Outdoor-rated string lights — balcony-safe in winter weather. Shop outdoor string lights
- Christmas light storage reel — next December takes half the time. Shop light storage reels
- Outlet timer for lights — lights on at dusk, off at bedtime, automatically. Shop outlet light timers