Halloween decorating in a rental feels like a trap: most of the good ideas involve nails, paint, or carving up the one decent pumpkin you bought. But here's the truth — the coziest, most put-together Halloween homes aren't the ones with the most stuff. They're the ones with a clear plan, a warm palette, and everything hung with removable hooks.
This guide walks you through decorating your rental for Halloween in six steps, for $50 total, with zero damage to walls, doors, or your security deposit. Every step is renter-safe, reversible in minutes, and built around one warm fall palette (terracotta, cream, warm black) so the whole place looks intentional instead of random.
Step 1: Start at the entryway (the highest-impact 10 minutes)
Your entryway is what guests — and you, every single day — see first. Decorating just this zone delivers 60% of the Halloween feeling for 10% of the effort, which matters when you're on a budget.
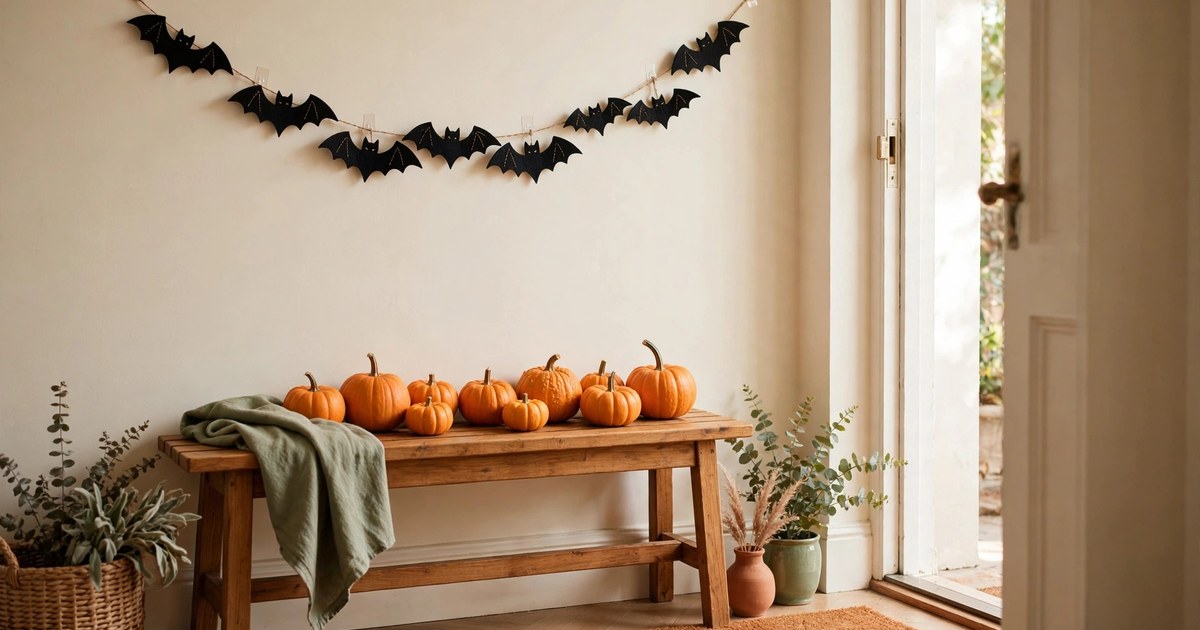
Set a small wooden bench, stool, or even a sturdy crate by your door. Line it with three to five mini pumpkins ($5–8 for a bag at any grocery store). Add a felt bat garland on the wall above it using removable adhesive hooks — bats read "Halloween" instantly and the whole garland costs under $10.
The renter rules here: nothing on the door itself that needs screws (use an over-the-door wreath hanger instead), and keep the walkway clear — landlords and fire codes both care about that. Stick to one small zone, and resist the urge to scatter decorations down the whole hallway. A tight, intentional entryway beats a house full of random spooky clutter every time.
Step 2: Go carve-free with your pumpkins (cheaper and longer-lasting)
Real carved pumpkins rot in about five days and cost more than the uncarved kind. Carve-free pumpkins are cheaper, last all season, and look more sophisticated — which is exactly what a small rental needs.
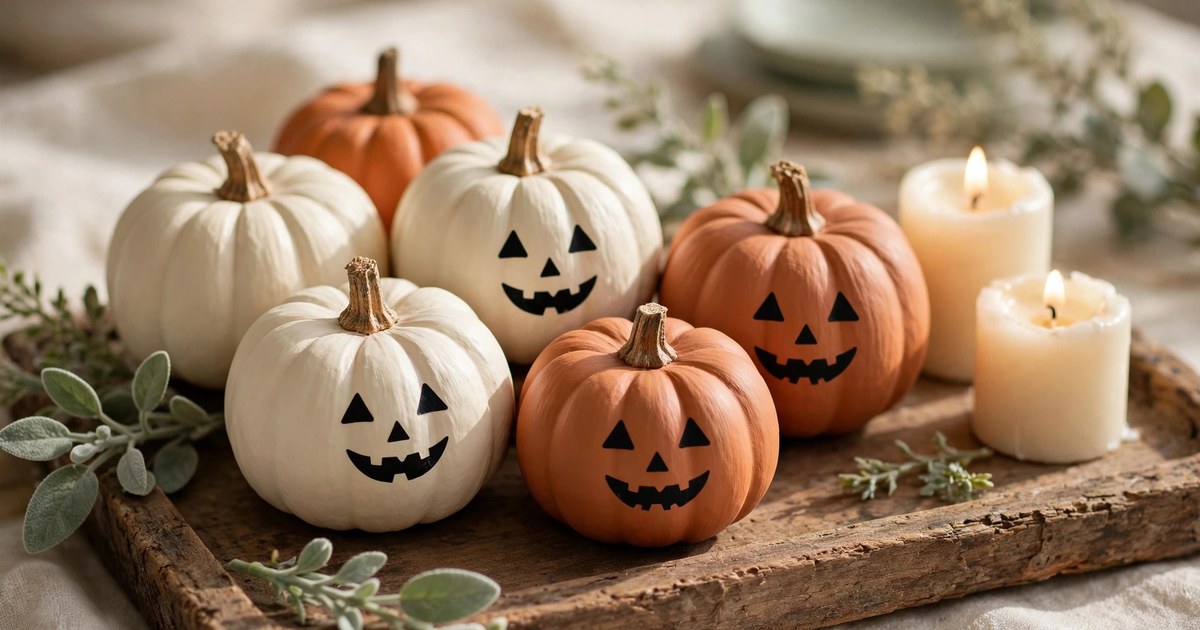
Buy a mix of mini pumpkins and one or two medium ones (total: about $10). Then decorate them without cutting: black vinyl face stickers ($5 for a sheet) give you the classic jack-o'-lantern look in seconds; a coat of matte cream or terracotta craft paint ($3 a bottle) turns orange pumpkins into the chic muted tones you see all over Pinterest; gold or black washi tape makes stripes and geometric patterns with zero mess.
Cluster them in odd numbers — three on a tray, five on a mantel — because odd groupings look deliberately styled. Mix sizes and heights: put one on a stack of books, another directly on the tray. When the season ends, the stickers peel off and the pumpkins go in the compost or the bin. No knives, no rot, no regret.
Step 3: Light it warm (fairy lights do the heavy lifting)
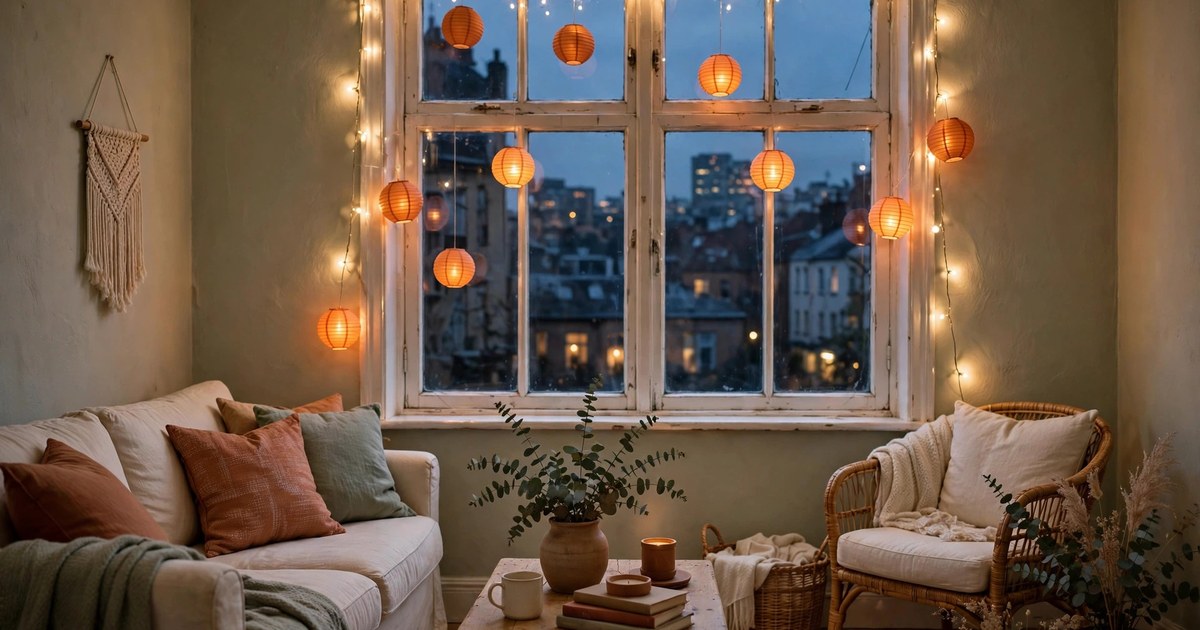
Lighting is the single biggest mood lever in Halloween decorating, and it's the cheapest. Warm fairy lights (a 66-foot strand costs about $8) instantly make any room feel like October, and they work in every room of a rental with zero installation.
Run a strand along the top of a window using removable clips — from outside, your apartment glows; from inside, the light softens everything. Drape another strand across a bookshelf or along the mantel. Add two or three battery-operated LED candles ($6 for a set) inside your mini-pumpkin clusters so they glow safely without any fire risk (many leases explicitly ban real candles anyway).
Stick to warm white or amber bulbs. Cool blue "spooky" lights fight with your fall palette and make a small space feel clinical instead of cozy. One color temperature everywhere is what makes the whole apartment feel designed rather than decorated.
Step 4: Build one fall centerpiece (not ten small ones)
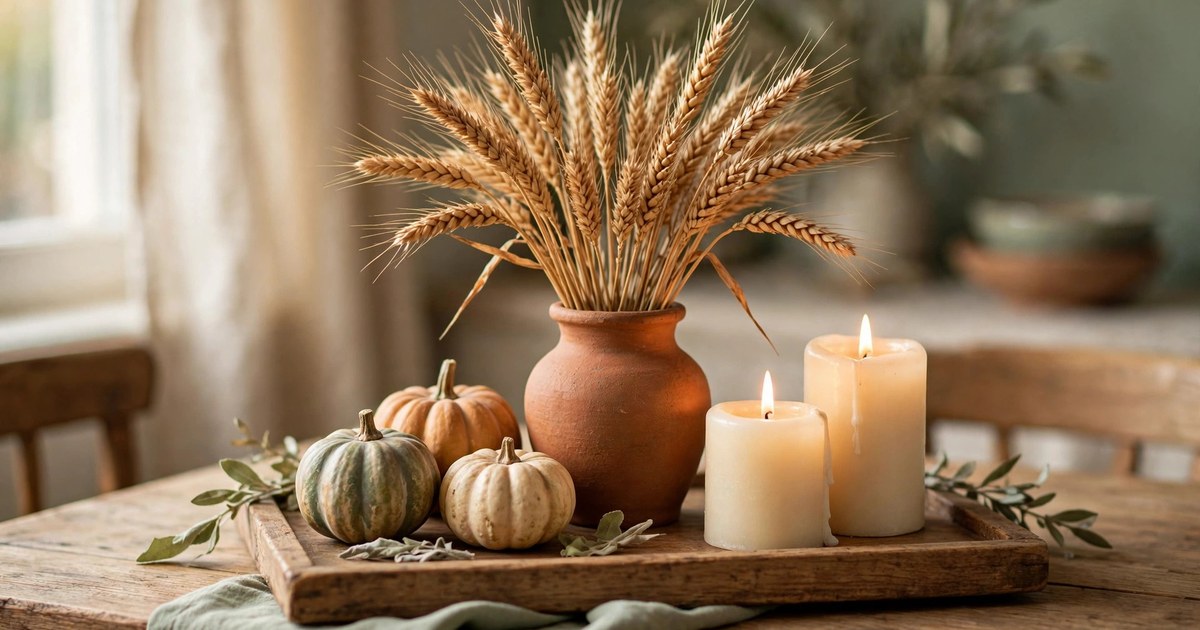
Small rentals die from decor clutter: twelve tiny Halloween items scattered around read as mess, not style. The fix is one deliberate centerpiece on your dining table or coffee table, built from cheap natural materials.
Start with a base you already own — a wooden tray, a cutting board, or a folded linen runner. Add height with a bundle of dried wheat stalks or pampas grass in a terracotta vase ($8–10 total). Tuck in three mini gourds ($4), two LED candles from Step 3, and a small sprig of faux eucalyptus if you have it.
This one arrangement carries the whole living area. It's also the only Halloween decor that transitions seamlessly into Thanksgiving — swap the bats for nothing at all and it works through November, which stretches your $50 even further.
Step 5: Dress one wall with removable garlands (no holes, no paint)
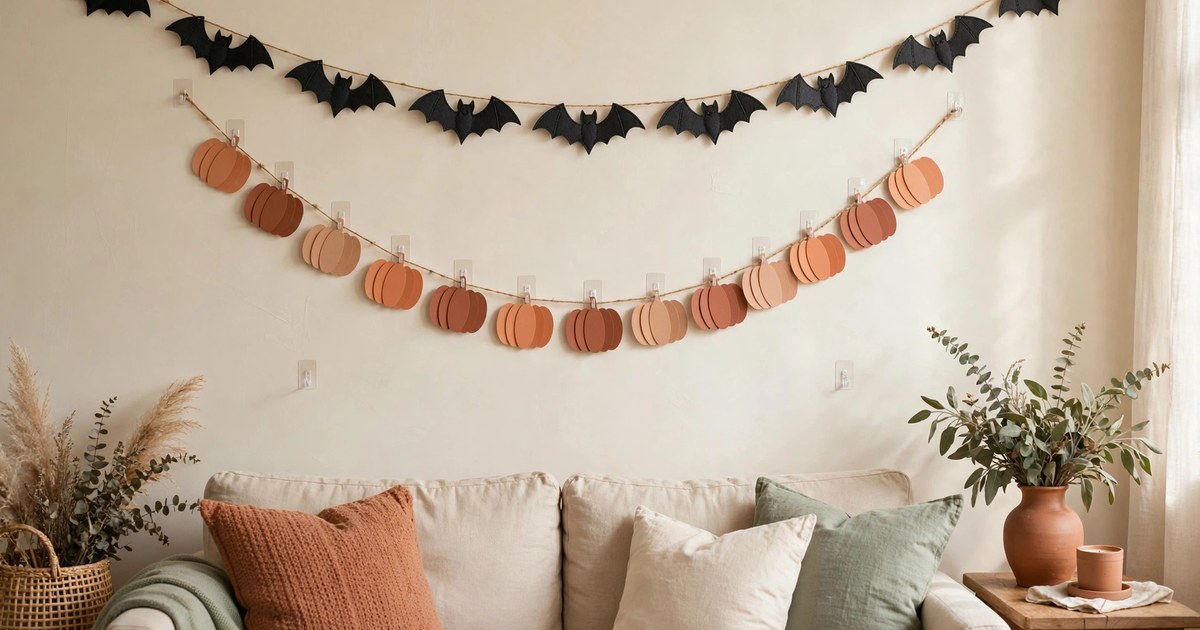
Walls are where renters get into trouble, but they're also where Halloween decorating pays off most. The solution is garlands hung with removable adhesive hooks — they hold up to a few pounds each, come off cleanly, and cost about $3 for a pack.
Pick one wall — ideally the one your sofa faces or the one behind it — and layer two garlands: a felt bat garland ($8) across the top, and a paper pumpkin or leaf banner ($5) hanging slightly lower. Stagger their heights so they don't look like one flat line. The layering is what makes it look designed.
When the season ends, warm the adhesive strips with a hair dryer for 30 seconds before pulling them straight down — they release cleanly with no paint damage. Never use the pull-tab strips on fresh paint (under 30 days) or textured walls; if either applies, hang your garlands from a tension rod inside a window frame instead.
Step 6: Swap your textiles (the cheapest transformation of all)
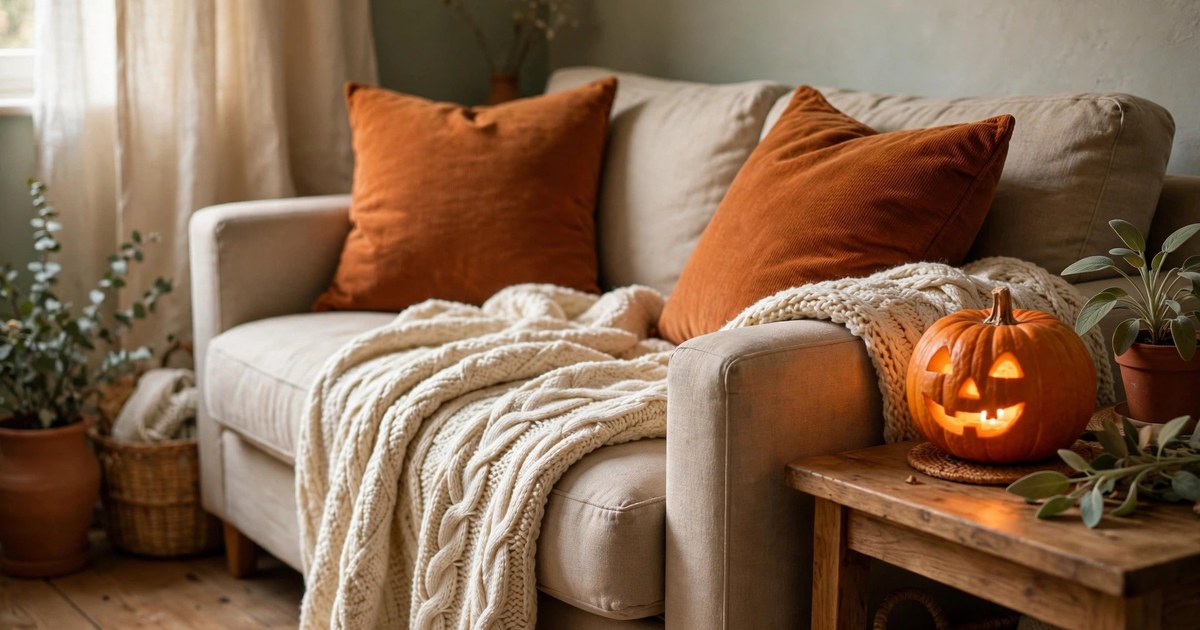
Textiles are the fastest way to make a room feel like fall, and you probably own half of what you need. Pull out anything cream, camel, rust, or burnt orange — throw blankets, pillow covers, even a scarf draped over a chair arm. Pillow covers alone ($12–15 for a set of four) are cheaper than new pillows and store flat.
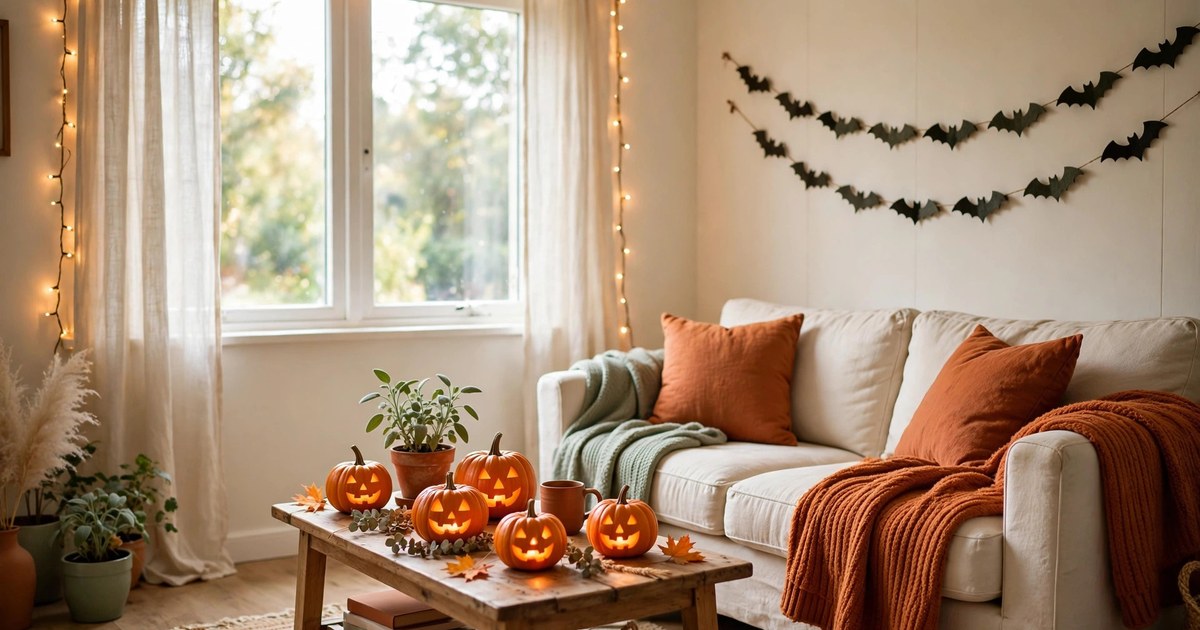
Layer one burnt-orange throw over your sofa arm, add two rust or black pillow covers, and put a chunky knit blanket (cream or oatmeal) folded over the opposite arm. That's it. Three textile swaps and the whole room reads "cozy October" even with zero Halloween-specific items visible.
This step also explains why the whole guide stays under $50: textiles you already own do the seasonal work, and the small amount you buy (covers, garlands, pumpkins) is all reusable next year. Budget decorating isn't about spending less on more stuff — it's about buying less stuff that does more.
The $50 budget breakdown
Here's roughly where the money goes, if you're buying everything new:
- Mini pumpkins and gourds: $10
- Felt bat garland + paper banner: $13
- Fairy light strand: $8
- LED candles (set of 6): $6
- Removable hooks and clips: $5
- Craft paint, stickers, or washi tape: $5
- Pillow covers (set of 4): $0–15 (skip if you own warm-toned ones)
Total: $47–62. Buy the pumpkins at a grocery store instead of a craft shop, reuse last year's lights, and you're comfortably under $50. Every non-perishable item stores in one small box and comes back out next October.
Frequently Asked Questions
How do I hang Halloween decorations in a rental without damaging walls?
Removable adhesive hooks and clips are the answer for almost everything — they hold garlands, lights, and lightweight banners, then pull off cleanly. Warm the strip with a hair dryer before removing to avoid paint damage. For heavier items, use an over-the-door hook or a tension rod inside a window frame instead of the wall.
What's the cheapest way to decorate for Halloween?
Focus on three things: pumpkins (real, carve-free), warm lighting (fairy lights + LED candles), and textiles you already own in fall colors. Those three categories cost under $35 combined and deliver almost the entire seasonal effect. Skip the big-box Halloween aisle, where single-use plastic decorations eat budgets fast.
How long do uncarved decorated pumpkins last?
Uncarved pumpkins last 4–8 weeks indoors, compared to about 5 days for carved ones. Painted pumpkins last the full season; sticker-decorated ones can be peeled and reused or composted. Keep them out of direct sun and away from radiators to maximize their life.
Can I use real candles in a rental for Halloween?
Check your lease first — many explicitly ban open flames. Battery-operated LED candles are safer, allowed everywhere, and look genuinely good inside mini pumpkins and lanterns now. For the flicker effect, put two or three together instead of one; grouped LEDs read much more convincingly than a single one.
When should I put up Halloween decorations?
Mid-October is the sweet spot for most renters — early enough to enjoy them, late enough that pumpkins and gourds stay fresh through the 31st. If you're using only non-perishable items (garlands, lights, textiles), early October is fine. Take real pumpkins down within a few days after Halloween before they soften.
How do I store Halloween decor in a small apartment?
One medium storage box is enough for everything in this guide: garlands fold flat, pillow covers stack, LED candles and fairy lights coil into a bag. Label the box and store it on top of a closet or under the bed. The pumpkins are the only perishables — compost or bin them after the season.
You may also like
10 Renter-Friendly Kitchen Upgrades (No Renovation Needed)
October 12, 2026
12 No-Drill Wall Decor Ideas for Renters (Zero Holes, Full Style)
October 11, 2026