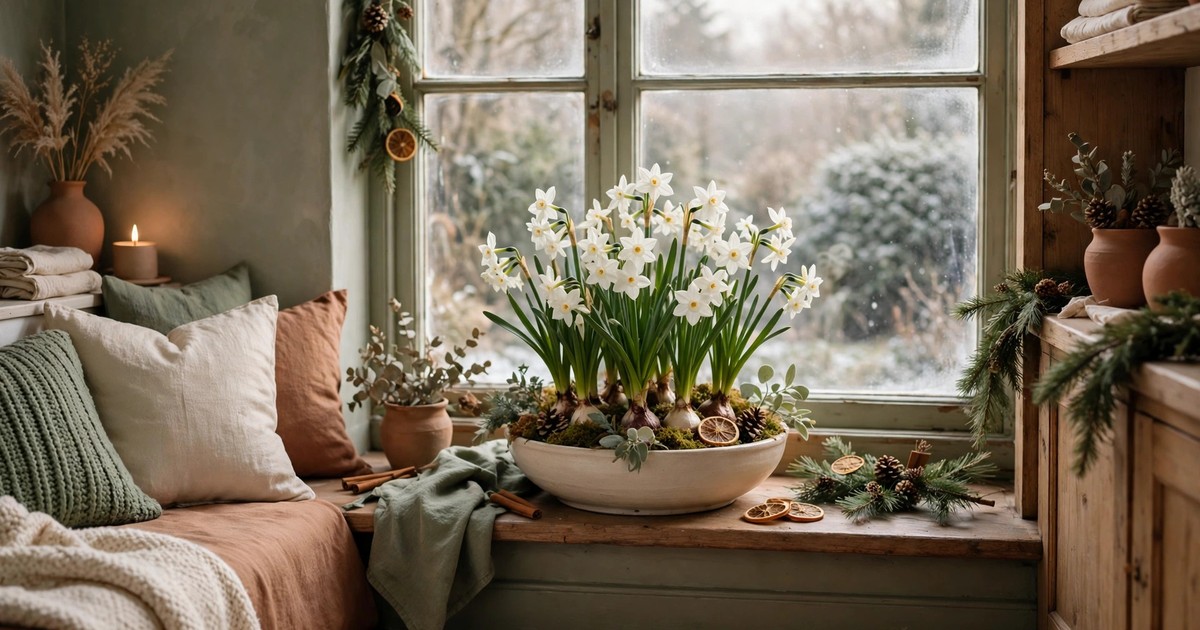
Paperwhites are the easiest Christmas flower there is, and the most forgiving. Unlike tulips and hyacinths, they need no chilling period — no weeks in the fridge, no cold frame, no guessing. Plant them in late October or November, give them water and light, and they bloom in four to six weeks, filling a room with white flowers and a scent that divides households into devotees and dissenters. For a renter, they are perfect: they grow in a bowl of pebbles, need no soil, no garden and no tools, and the whole display costs less than a supermarket bouquet.
Timing is the only thing you need to plan. Count back from when you want flowers: paperwhites take four to six weeks from planting to bloom, so bulbs planted in the first week of November bloom in early to mid-December, and bulbs planted in mid-November bloom just in time for Christmas week. Plant in two batches a fortnight apart and you get a succession of flowers rather than a single flush.
Step 1: Buy firm, healthy bulbs at the right time
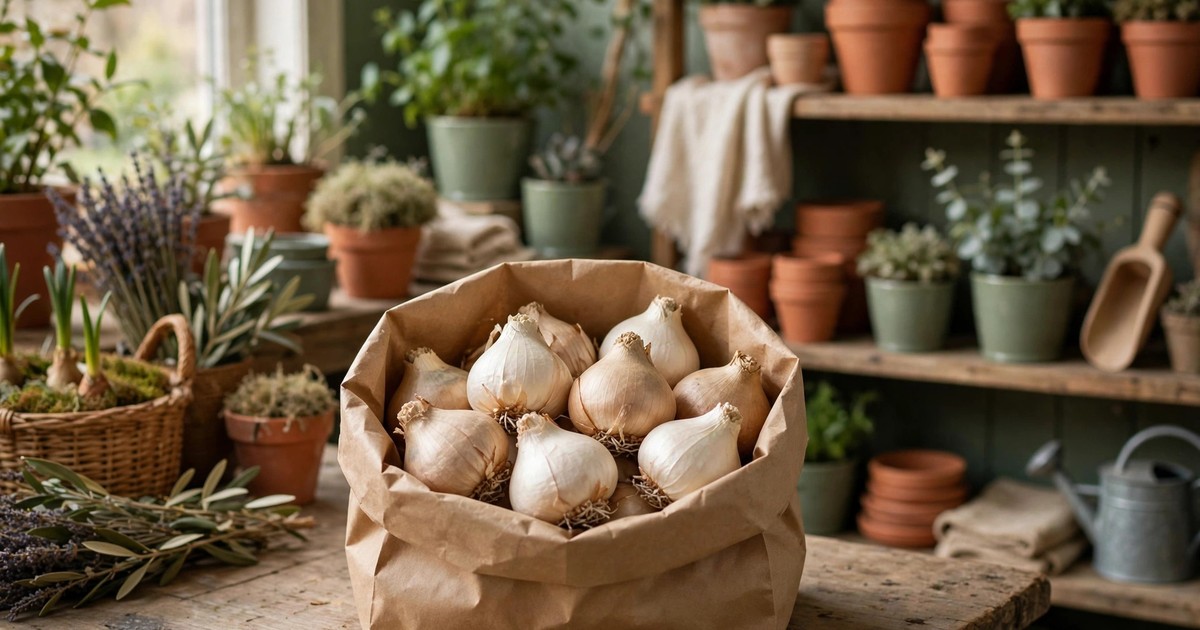
Paperwhite success starts at the shop. Choose bulbs that feel firm and heavy for their size, with no soft spots, mould or shoots already growing wildly in the bag. A good paperwhite bulb is about the size of a small onion, with a papery brown skin intact and a flat base where the roots will emerge.
Buy them in autumn, when garden centres and supermarkets stock them fresh — bulbs bought in spring may have been stored too long and bloom weakly, if at all. For a generous display, buy in groups: five to seven bulbs for a medium bowl, ten to twelve for a large one. Paperwhites look best massed, not dotted singly, so do not be shy about quantity. A bag of bulbs is usually one of the cheapest Christmas decorations you will buy.
Step 2: Choose a container that suits pebbles or soil
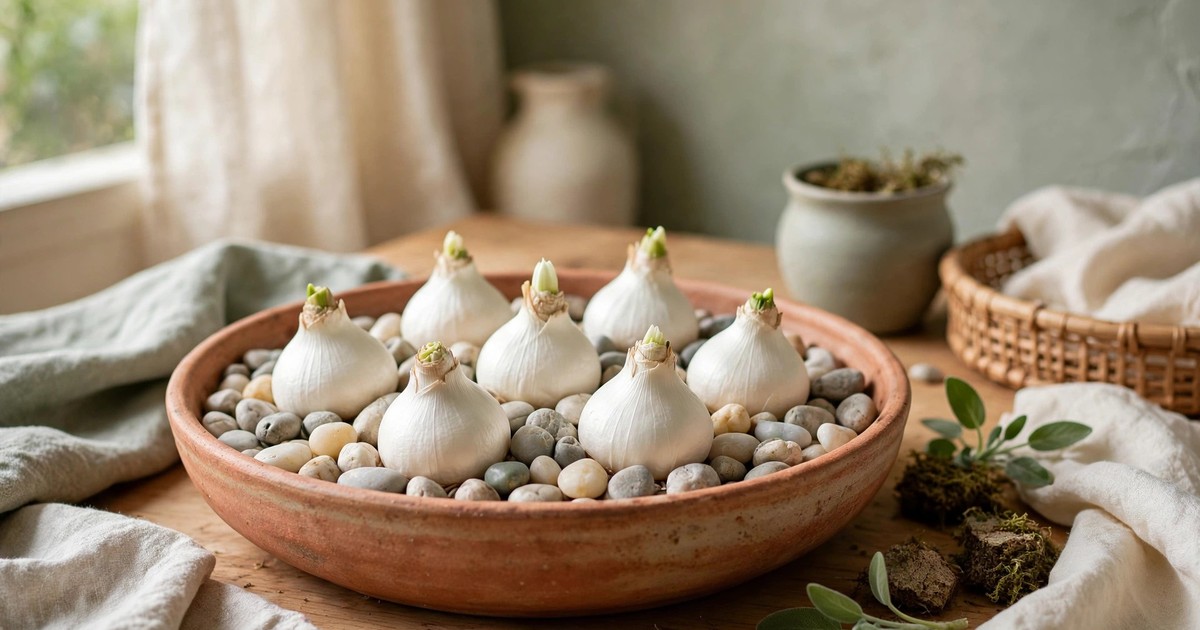
Paperwhites grow happily in either pebbles and water or ordinary potting compost, and each has an advantage. Pebbles look beautiful — you see the roots threading through the stones — and they make the whole display feel like an ornament. Soil gives the bulbs more support, so tall stems flop less, and it forgives a missed watering.
Choose a container with no drainage holes if you are using pebbles, so the water stays put, and one with drainage if you are using soil. Shallow, wide bowls suit paperwhites better than deep pots, because the bulbs sit close together and the display reads as a drift of flowers rather than a row of soldiers. A bowl 15–20 cm across holds five to seven bulbs comfortably. If you are forcing for a windowsill, measure the sill first — a bowl that overhangs the edge is a disaster waiting for a cat.
Step 3: Plant the bulbs pointy end up, close together
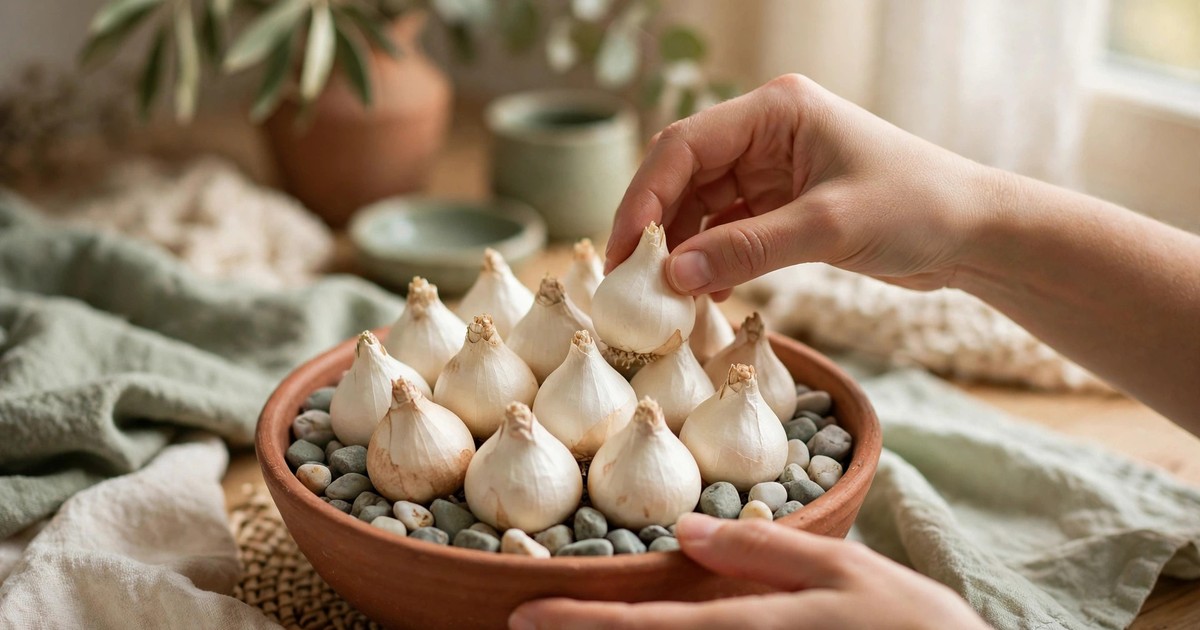
Planting is simple, but the orientation matters: pointy end up, flat base down, because the shoots come from the point and the roots from the base. Planted upside down, a bulb will still try to grow, but it will waste weeks correcting itself and bloom late, if at all.
In pebbles, set the bulbs on a 3–4 cm layer of stones, pack more stones around them until they are held upright, and leave the top third of each bulb exposed — buried bulbs in water rot. In soil, plant them with the same top third above the surface, spacing them about 2–3 cm apart. Close planting is not overcrowding for paperwhites; it is how they support each other, and a tightly planted bowl produces a much fuller display than bulbs spaced politely apart.
Step 4: Water carefully and start them in the cool and dark
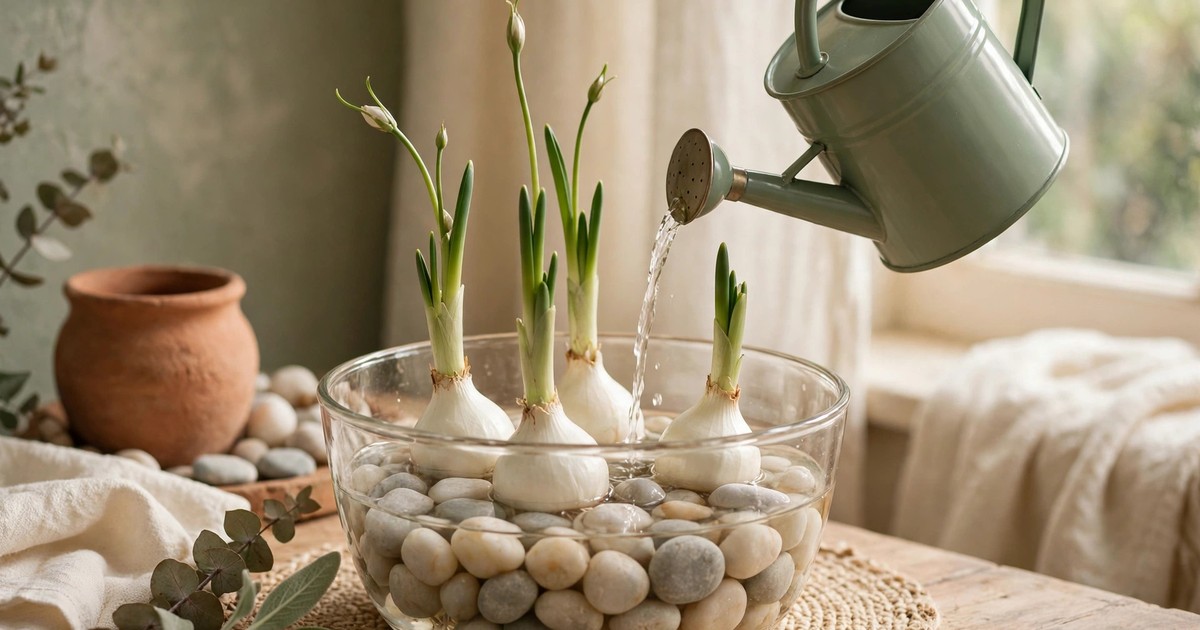
Water is where paperwhite forcing most often goes wrong, and the rule is precise: the water level should sit just below the base of the bulbs, touching the roots but not submerging the bulbs themselves. Bulbs sitting in water rot quickly, and a rotted bulb smells terrible and blooms never.
In pebbles, add water until it reaches the bottom of the bulbs, then top it up as it evaporates — check every couple of days, because a pebble bowl dries faster than you expect in a heated room. In soil, water until the compost is moist but not soggy, and let the top dry slightly between waterings. Then, for the first two weeks, keep the bowl in a cool, darkish spot — a cool hallway, a north-facing room, or a cupboard you open daily. This encourages strong roots before the shoots race upward, which is the secret to sturdy stems later.
Step 5: Move them into light once shoots appear
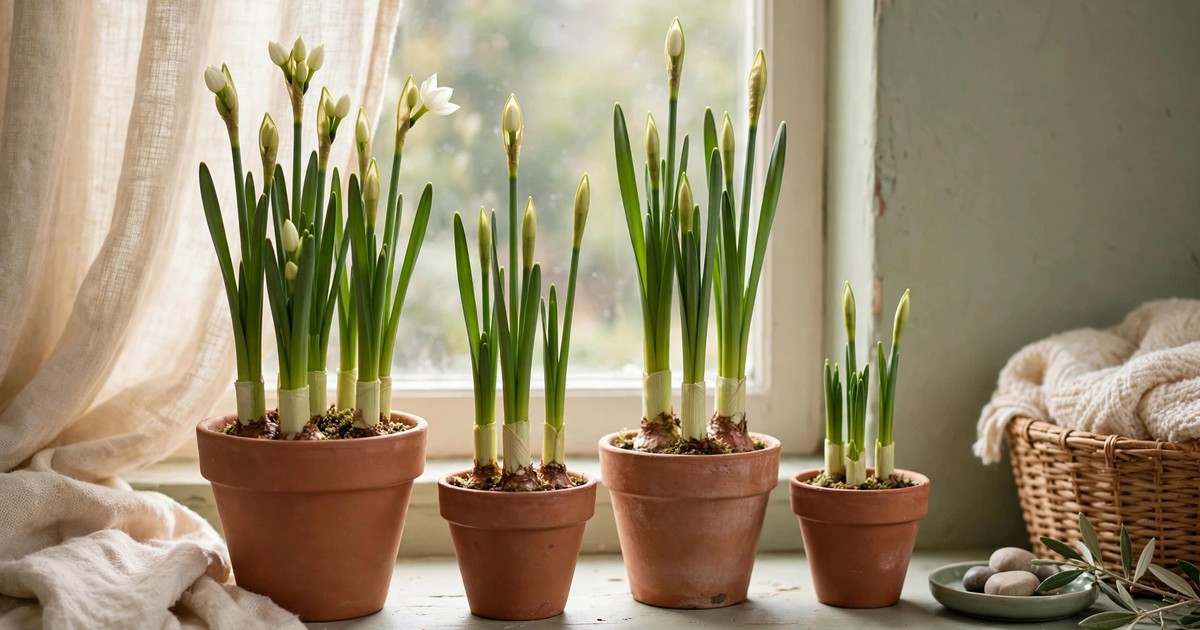
Once shoots are 5–8 cm tall and roots are visible in the pebbles or anchoring the soil, move the bowl into bright indirect light — a windowsill that gets morning sun, or a bright room away from direct midday glare. Light is what turns a pale, leggy shoot into a strong green stem, so do not leave the bowl in the dark a day longer than needed.
Turn the bowl a quarter-turn every day or two, so the stems grow straight instead of leaning towards the window. A leaning paperwhite is not a failure — it is just phototropism, the plant reaching for light — but a daily turn keeps the display even. If the room is very warm, the flowers will open faster and fade sooner; a cool room (around 16–18°C) gives you the longest bloom, so a cool windowsill beats a spot above a radiator every time.
Step 6: Stake tall stems before they flop
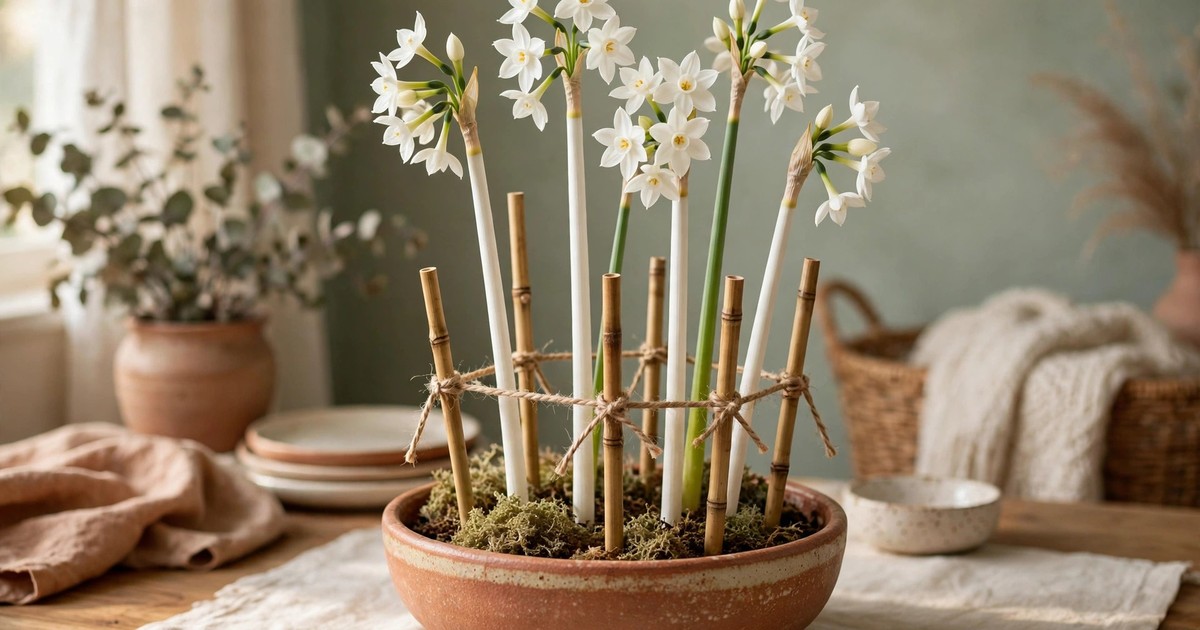
Paperwhites are notorious for flopping, because their stems grow fast and their flower heads are heavy. The fix is to stake early, before the flop happens, rather than rescuing a fallen stem afterwards. Push three or four slim bamboo canes or twigs into the bowl around the bulbs, and loop soft twine or raffia around the stems at two heights — low and mid-stem — so the group supports itself.
There is also a famous trick for keeping paperwhites shorter and sturdier: once shoots are about 10 cm tall, replace the water with a very dilute alcohol solution (roughly one part vodka or gin to seven parts water). Research from Cornell University found this stunts stem growth by about a third without affecting the flowers, giving you compact, upright plants. It sounds like folklore, but it is real science — just do not use beer or wine, which feed mould, and do not start the alcohol before the shoots are established. If the idea puts you off, staking alone works perfectly well.
Step 7: Enjoy the blooms, then compost the bulbs
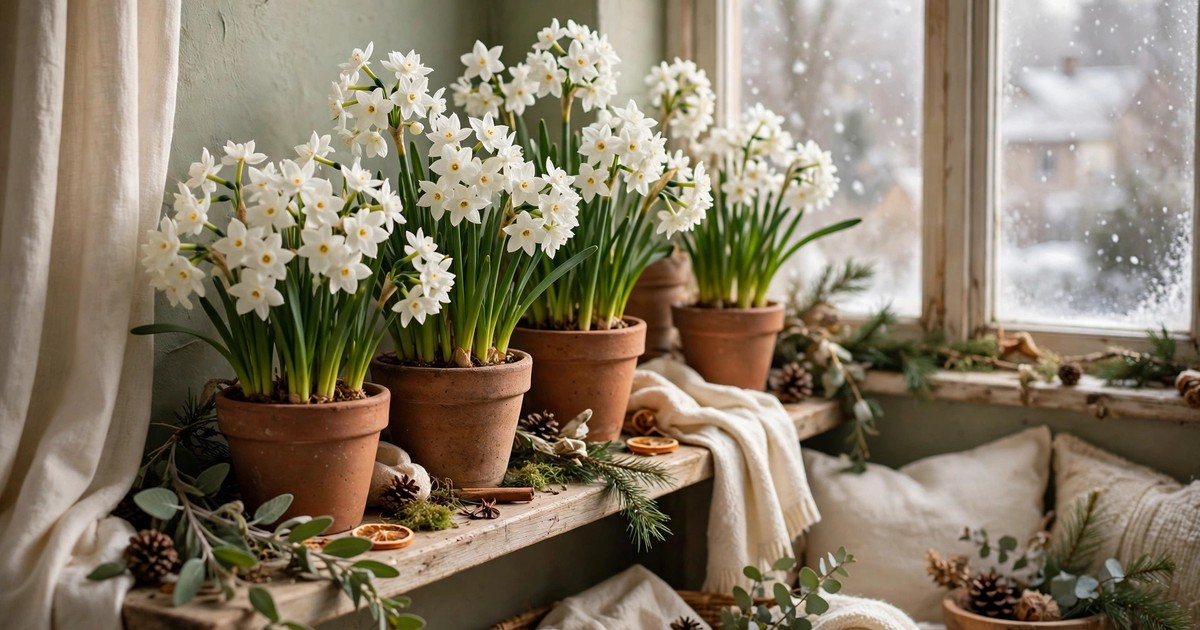
Flowers open from the bottom of each cluster upward, and a bowl in full bloom lasts one to two weeks, longer in a cool room. The scent is strong — wonderful to some, overwhelming to others — so if you are sensitive, put the bowl in a larger room or a hallway rather than a small bedroom, and open a window for an hour a day to keep the air fresh.
When flowering finishes, the honest news is that forced paperwhites rarely bloom well again. Forcing exhausts the bulb, and in most climates they cannot rebuild enough energy outdoors. Compost the spent bulbs without guilt — they gave you six weeks of flowers for the price of a coffee — and buy fresh bulbs next autumn. If you live somewhere with mild winters, you can try planting them outside after flowering, but treat any second bloom as a bonus, not a plan. For next Christmas, plant a fresh batch in November and enjoy the ritual all over again.
Shop this look: forcing paperwhites indoors
- Paperwhite bulbs — firm, fresh, autumn-bought. Shop paperwhite bulbs
- A shallow forcing bowl — wide, not deep, for a full display. Shop bulb forcing bowls
- Decorative pebbles — for the water-forcing method. Shop decorative pebbles for bulbs
- Slim bamboo stakes and twine — stake before the flop. Shop bamboo plant stakes
- Potting compost — if you prefer the soil method. Shop houseplant potting compost